Building a new PC is exciting for tech lovers. But what if you turn it on the screen is black (No display)? This problem, often titled New PC Build No Display, is common, especially if you are new to making PCs.
A PC needs many parts to work together. If you make a small mistake, like plugging a cable wrong, the screen might not work.
This guide will help you find and fix the problem. We’ll look at different reasons and solutions to get your screen working.
Why Does New Computer Build Have No Display?
A PC blank screen can be frustrating when you have just built a new computer, expecting it to work flawlessly. But why does this happen? Several reasons can lead to a “no display” situation:
| Reason | Solution |
|---|---|
| Monitor Connection Issues | Check power and signal lights, ensure correct port usage, and set the monitor to the right input. |
| Power Supply Concerns | Verify outlet functionality, secure all power connections, and choose an appropriate PSU. |
| RAM Issues | Properly seat the RAM sticks, ensure compatibility, and test each stick individually. |
| CPU Connection | Reseat the CPU carefully, check for bent pins, apply thermal paste correctly. |
| CMOS Battery | Reseat or replace the CMOS battery to reset BIOS settings. |
| Graphics Card Settings | Confirm proper graphics card installation and settings, ensure correct input source. |
| Hardware Compatibility | Ensure all components (CPU, motherboard, RAM) are compatible; use online tools for verification. |
| BIOS Settings or Version | Update BIOS if necessary and adjust settings for compatibility with hardware components. |
| Incorrect Assembly | Disassemble and reassemble the PC, verifying correct installation and connection of each component. |
How To Fix New PC Build No Display
Let’s explore some common monitor-related issues and their solutions.
1. Power Supply Verification
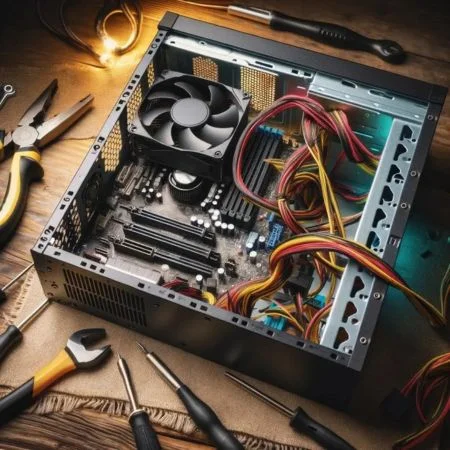
The power supply is the part that gives power to every other part of your PC. It’s like the heart of your PC. But it needs to be good and work well to make your PC work well. Let’s see how to check your power supply.
Outlet and Connection Checks
Starting with the basics, if your PC does not turn on, the problem might be the wall outlet. Sometimes the outlet is bad and does not give power. You can try to use a different outlet or switch to see if that helps.
Securing the Connections
A loose connection can be the silent saboteur in your PC build. The big power connector, called ATX 24, needs to be tight to the motherboard. If it is not, your motherboard will not get power, and your PC will not work. Also, other cables like CPU, SATA, PCIe, Molex, and Fan need to be connected well to their places on the motherboard. A good connection makes sure that every part gets the power it needs to work well.
Choosing the Right Power Supply Unit (PSU)
The power supply is not just about giving power; it’s about giving enough power. Some parts need more power than others. For example, some powerful CPUs might need more than 200W. If you use a low-power PSU, like 250W, it will not be enough.
When you want a good gaming PC, you need to buy a PSU with more power. But power is not the only thing to think about. The brand and quality of the PSU are also important. Don’t buy a cheap PSU because it might not work well or last long. A good power supply makes your PC work well and last long.
2. Monitor Connection Issues
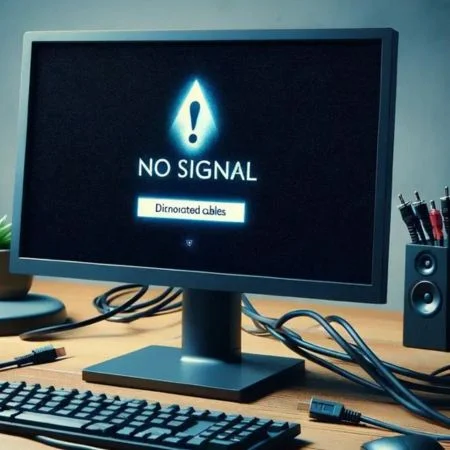
Making a PC work can be hard, especially when the PC screen does not talk to you. But before you try many things, you need to know the basics of screen connections.
Power and Signal Lights
When you turn on your screen, the first thing to look at is the small light. Usually, a red light means that the screen has power but is not ready. If this light is not there, it means that the power connection is bad. You can try to plug the power cord again to make the screen work.
But a red light does not mean that the screen is getting a video signal. If you see a “No Signal” message or see some codes, which mean you plugged in an HDMI incorrect port.
The Right Plug Matters
One of the most common pitfalls for newcomers is connecting the monitor to the incorrect port. It’s an easy mistake but can make you very angry. If your PC has a graphics card, the HDMI cable should go to the card’s HDMI plug, not the motherboard’s. The motherboard’s plug is only for when you use the graphics card that comes with the processor. Remember, the right plug can make your screen work.
Screen Settings and Input Source
It might sound silly, but you need to make sure your screen is turned on. Sometimes people forget to do that and waste time trying to fix it. Once you know that your screen is on, check the input source. If you’re using an HDMI cable, the screen should be set to the HDMI input. You can change this using the screen’s buttons.
3. Inspection RAM
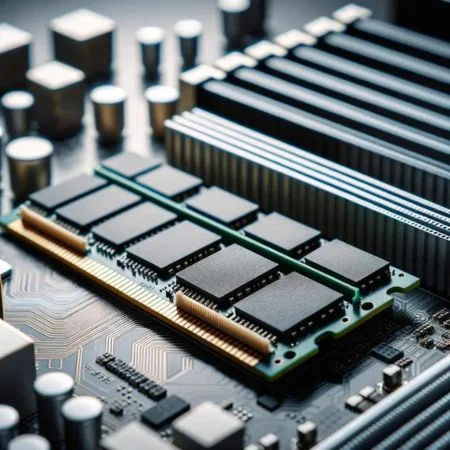
If the RAM sticks don’t work well with the motherboard, the screen might stay black. You need to make sure that the RAM sticks are good and that they work well with each other and the motherboard.
Imagine trying to read a book with half the pages gone. That’s what it’s like for a CPU trying to work with bad RAM. If your PC turns on, fans spinning, but you hear some beeps and nothing happens, it means that the RAM has problems.
Putting RAM in is not very easy. Most motherboards have at least four slots for RAM, and you need to put them in the right places. If you have one RAM stick, you might be fine. But if you have two or more, you need to use a special way. The makers of the motherboard often tell you the best places to put the RAM on the motherboard itself or in the manual. A common way is to skip one slot: if one RAM stick is in the first slot, the next one should be in the third slot. But this can be different, and some motherboards might like the second and fourth slots better.
Insertion and Testing
The way RAM sticks are put in can make your PC work or not. You need to make sure they are pushed in well in the slots. But also, you need to make sure they work well with the motherboard and the CPU. You can check the websites and manuals of the makers to see if they do. If you have more than one RAM stick, you can try one by one to see if any of them have problems.
4. CPU Connection
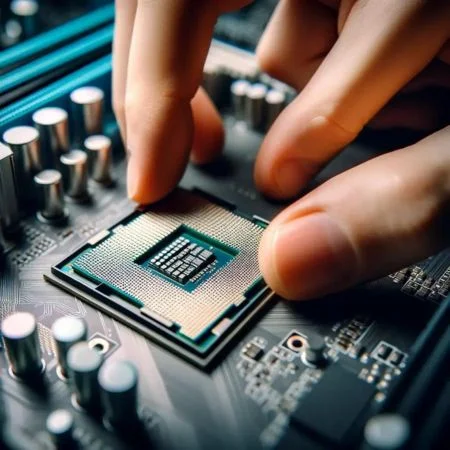
Even a small mistake can make big problems. You need to make sure it is put in well and connected well to make your PC work well.
The Problems of Wrong Seating
The CPU is very sensitive and needs to be careful. Wrong seating can bend the pins, which can break the CPU and the motherboard. The CPU is made to fit in a certain way, and this is different for Intel or AMD.
Steps for Proper CPU Connection
- Heatsink Removal: Start by taking off the heatsink that is on top of the CPU. This part cools down the CPU when it works.
- Accessing the Socket: Push down on the lever and pull it back. This will show the CPU socket. Some motherboards might have a cover that you need to unscrew before you can see the lever.
- Orientation Matters: Before you go on, look at the triangle on the CPU. This triangle helps you put the CPU in the right way.
- Unseating the CPU: With care, lift the CPU from its socket. Once you take it out, it’s good to clean any paste that is on its top. This makes sure the heat goes well when the CPU is put back.
- Reinstallation: Line up the CPU’s triangle with the mark on the socket. Gently put the CPU into the socket, making sure it sits well without any force.
- Securing the CPU: Push the lever back to its place. This makes the CPU stay in place.
- Thermal Paste Application: Put a thin layer of paste on the CPU. This paste helps the heat go from the CPU to the heatsink.
- Heatsink Reinstallation: Put the heatsink back on the CPU, making sure it is tight.
- Final Test: Turn on your PC. If everything is done right, the PC should start working, showing that the CPU connection is good.
5. Check CMOS Battery
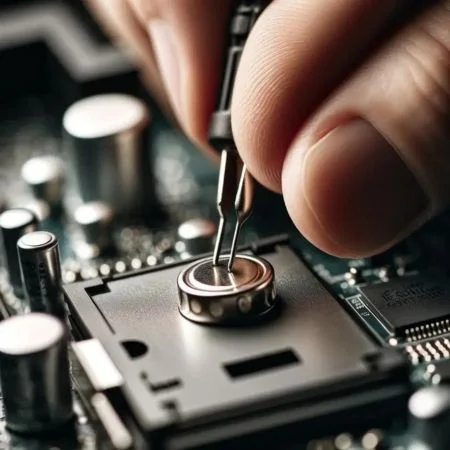
The CMOS (Complementary Metal-Oxide-Semiconductor) battery is a small part that helps the motherboard remember its settings. It makes sure that the BIOS settings stay the same even when the PC is off. But sometimes this part can cause problems like PC on but No Display.
Before you check the harder parts, you should try to fix the CMOS. Your motherboard might have one of two things:
- The CMOS Battery: This is a round battery, usually silver, that you can see on the motherboard.
- The Jumper: Some motherboards have a jumper, which is a small thing with three pins and a cap. This jumper lets you clear the BIOS settings.
Fixing the CMOS Battery
If your motherboard has a CMOS battery, the steps are easy:
- Find the battery on the motherboard.
- Press the lock or clip that holds the battery. This will make the battery come out.
- Wait for about a minute. This will make sure that the BIOS settings are cleared.
- Put the battery back, making sure the ‘+’ side is up. This is important for the battery to work well.
Changing the Jumper
For motherboards with a jumper:
- Find the jumper, usually with three pins and a cap.
- To reset the BIOS, just move the cap. If it’s on pins 1-2, move it to pins 2-3, or the other way around.
6. Integrated Graphics Card Settings
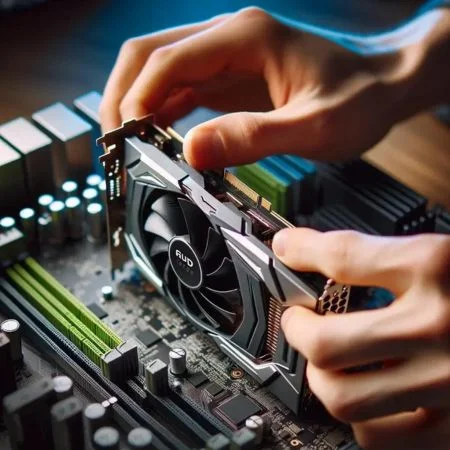
Sometimes your PC might use the graphics card that is on your motherboard instead of the one that you added. If this happens, you need to change some settings.
How to Choose the Right Graphics Card
Some PCs might use the graphics card on the motherboard by default. If you want to use the graphics card that you added, you need to turn off the graphics card on the motherboard. You can do this in the BIOS. (Remember, when you do this, make sure your screen is plugged into the graphics card on the motherboard.)
If your graphics card is very powerful, it might need more power than the motherboard can give. You might need to plug more cables from the power supply to the graphics card.
Another thing to think about is where you put your graphics card on the motherboard. Some people say that you should put it in the first slot, close to the CPU. This might make it work better. However, some motherboards might have different slots for different graphics cards. You should check the manual of the motherboard to see which slot is best.
How to Put and Connect Your Graphics Card Well
The way you put and connect your graphics card can affect your screen. Make sure that the graphics card is pushed in well in the slot and that it is connected well to the power supply. Also, make sure that you use the right plug for your screen. For example, if you use a DisplayPort cable, it should go to a DisplayPort plug on your graphics card.
7. Check BIOS Settings or Version

Updating BIOS can make your PC work better by making it compatible with new parts and fixing some bugs like PC no display. If you have an old motherboard that does not recognize new parts like the CPU, GPU, or RAM, updating BIOS might help. But you need to make sure that the parts are compatible before you update BIOS. If your PC does not start because of bad parts, updating BIOS will not fix it. Also, buying parts that do not match just because they are cheap can cause more problems than benefits.
How to Update BIOS on an MSI Motherboard
Different motherboards have different ways to update BIOS, but here is a general way for MSI motherboards:
- Preparation: Use another PC to download the right BIOS version for your motherboard. Unzip the file and save it to a flash drive (at least 8 GB) that is formatted in FAT32.
- Starting the Update: Plug the flash drive into your main PC and choose the M-Flash option.
- Confirmation: When it asks you, click ‘Yes’.
- BIOS Access: The PC will go to the BIOS. There, choose the update file.
- Start the Update: Click ‘Yes’ to start updating BIOS. Your PC will update BIOS and then restart.
The Risks and Tips
Updating BIOS is not easy. If something goes wrong, like the power goes off during the update, the motherboard might stop working. It might be safer to go back to the seller for the update. They will be responsible if something bad happens. But if you want to do it yourself, make sure you know what you are doing. You can check the websites and videos of the makers for help.
Changing BIOS Settings
Besides updates, the BIOS has some settings that you can change to make your PC work better. For example, turning on the XMP can help your RAM work faster. To go to the BIOS, you need to press some keys like ‘F2’, ‘F10’, or ‘Delete’ when you start the PC. Different BIOS have different looks, so you should check the website of the motherboard maker for help.
8. Disassemble and Reassemble Parts
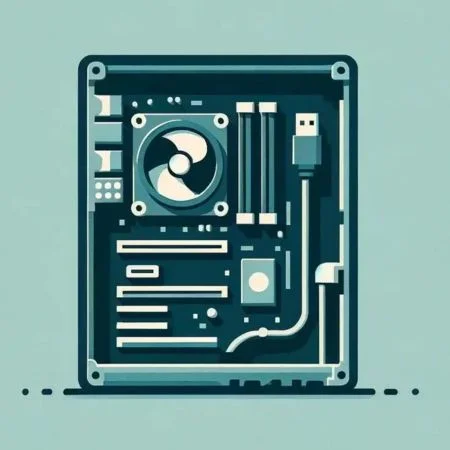
Sometimes the best way to fix a problem is to start over. Taking apart and then putting together your PC can help you see what is causing the screen problem. It’s like going back to the beginning, making sure each part is put in well and working well.
The Step-by-Step Way to Find the Problem
This way is easy and helpful. Sometimes one bad part can make the screen black. By taking apart the PC one by one, you can find and fix the bad parts.
Here’s a good way to take apart the PC for fixing:
- RAM Check: If you have more than one RAM stick, start by taking out one at a time. This can help you see if one of the sticks is bad.
- Storage Devices: Take out any storage devices to see if they are causing the problem.
- Peripheral Removal: Take out things like DVD ROMs, sound cards, and other related devices.
- Graphics Card Test: Take out the graphics card and plug the screen into the graphics port on the motherboard. This can help you see if the graphics card is the problem.
- CPU Cooler and CPU: Take out and put back both the CPU cooler and the CPU. Make sure they are lined up and tight.
- CMOS Battery: Take out the CMOS battery, which can sometimes reset settings that cause screen problems.
After each step, turn on your PC. If the screen problem is fixed after a step, the part you took out in that step might be the bad one.
The Importance of Putting Parts Well
If, after all these steps, the screen problem is still there, it might be because the parts are not put in well. This can happen to new people who make PCs. There are some rules for putting parts like RAM sticks, graphics cards, and the CPU. If you don’t follow these rules, the PC might not start.
For new people, it’s important to know that every part has its own place and way to put in. If you think that the parts are not put in well, you should take them out and put them back, making sure they follow the maker’s rules.
The End
We have seen some common problems that can make the new PC built no display or screen black. From the screen connections to the BIOS settings, we have learned some ways to fix the problems and make the PC work. Each step, whether it’s putting the RAM well or checking the parts match, shows how careful and detailed you need to be when making a PC.
Making a PC is not just about technology, it’s also about solving problems. It’s a way to learn new things, and have some challenges and successes. With patience, careful steps, and a good eye, you can fix any screen problem and enjoy your PC.


![Does CPU affect FPS? [Solved] 23 Does CPU affect FPS? [Solved]](https://pcexplorers.com/wp-content/uploads/2025/05/image-15-150x150.png)
