Many of you have asked us if it’s possible to test a motherboard without a CPU, and the answer is yes!
Testing your motherboard before installing a CPU can help you understand if the motherboard is dead. To test your motherboard, connect the PSU to your motherboard, turn it on, and check if the motherboard beeps or lights up.
With that being said, keep in mind that the testing process will be completely different from other testing methods since you won’t be able to boot up the system or POST, and you will have to work with beeping codes and LED lights.
Why Test the Motherboard Without a CPU?
It is normal to wonder if it’s necessary to go through the hassle of testing your motherboard without any components.
However, this extra step in the building process can save you a lot of time and headaches down the road. By testing your motherboard before installing a CPU, memory, and other components, you can be sure that it isn’t dead, making it easier to troubleshoot if you encounter any problems later on.
This is actually a standard process PC builders use when building a new system called the “pre-built bench test.” They do this bench test because motherboards are very sensitive and can easily get damaged during shipping.
If you do the pre-built bench test and the motherboard passes, it doesn’t mean that your motherboard is good to go. It might have other issues that only show up when you have everything installed. But at least you will know it hasn’t arrived DOA (dead on arrival).
Now that we got that out of the way let’s get into how to test a motherboard without a CPU installed.
How to Test a Motherboard Without a CPU
To test your motherboard without a CPU installed, you’ll need only two things:
- Power Supply Unit (PSU)
- Motherboard
1. Unbox the Motherboard Carefully
The last thing you want to do is to cause static damage to the motherboard by not being careful. When taking it out of the box, hold it by the edges and try not to touch any of the component areas. Place it on a flat, non-conductive surface like the antistatic bag it came in or even the case box.
Make sure not to place it on anything metallic like a metal table, as this can cause static damage. Motherboards are pretty sensitive, and it only takes a tiny spark of static electricity to destroy your motherboard, so be extra careful.
2. Locate the 24-Pin and 4/8-Pin Power Connectors
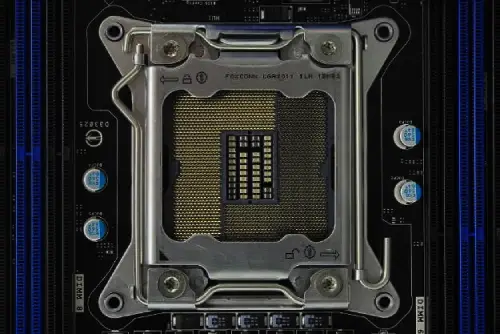
The 24-pin power connector is usually located next to the RAM sockets, and the 4/8-pin CPU power connector is right above the CPU. If you’re unsure which one is, consult your motherboard manual.
3. Connect the PSU to the Motherboard
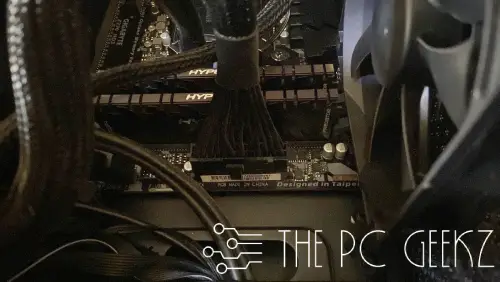
Now that you found the power connectors on the motherboard, it’s time to plug the PSU cables into them. Finding these cables is pretty easy as they have labels telling you which connector they go to.
4. Power on the PSU
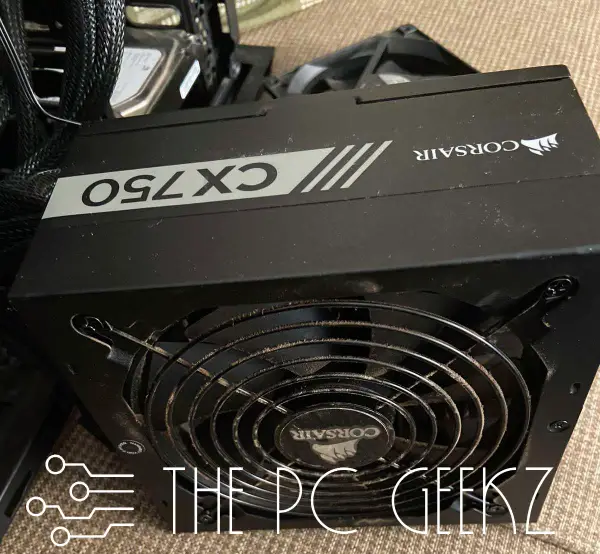
Now that everything is plugged in, it’s time to connect the power supply unit to a power outlet and turn it on. At this point, there will probably be no signs of life since you haven’t turned on your motherboard yet, which is fine.
Related Article: How To Connect Power Supply To Motherboard
5. Turn on the Motherboard
This is where things get a bit tricky because since you have not connected the motherboard to the case yet, there is no power button.
So how are you supposed to turn on the motherboard without the power button?
The answer is that there are three ways to turn on the motherboard:
- If the motherboard has a power-on button, press it.
- Short the power-on header using a jumper or screwdriver.
- Connect the case’s power button to the motherboard.
Let’s examine these three methods in more detail:
Method 1: Press the Power Button (if available)
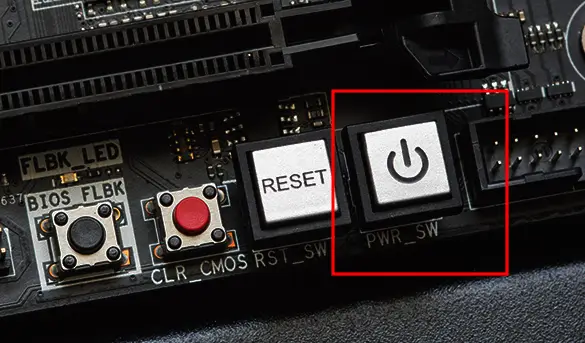
This is the most straightforward method. If your motherboard has a power-on button, simply press it, and the motherboard will power on. However, this feature is not available on most motherboards, and you will find it only in newer high-end motherboards.
Method 2: Short the power-on header
The second method is to short the power-on header with a screwdriver or jumper. This method is not as easy as the previous one, and you will need to refer to your motherboard manual to find the front panel header.
A front panel header is a group of pins that allow you to connect the power button, reset button, and LEDs to the motherboard.
Once you find it, locate the power-on header, usually labeled as “PWR_SW” or “PWRBTN.” To short it, simply take a screwdriver or a jumper and touch the two power switch pins.
This will complete the circuit, and jump start the motherboard. Be careful not to touch any other header pins cause if you do, your motherboard won’t power on.
Method 3: Connect the case’s power button
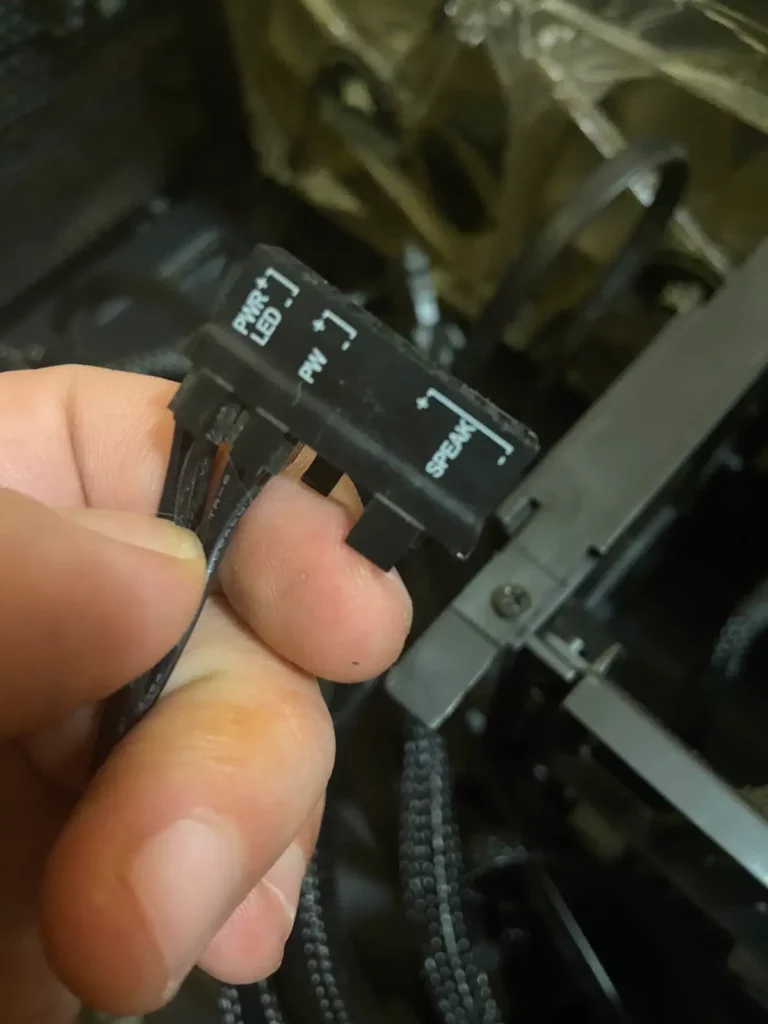
The third and final method is to connect the case’s power button to the motherboard. To do this, you should follow the same steps you did in the shorting method to find the front panel header and the power-on switch.
Once you find it, connect the case’s power button cable instead of shorting the header with a screwdriver.
After connecting the power button, simply press it, and the motherboard should power on.
What to Expect After Powering On the Motherboard
As I told you should not expect to see anything happening like your computer posting or the BIOS settings. This is because you haven’t connected any other computer parts to the motherboard like the CPU, RAM, or GPU.
You should expect to see the power LED light on the motherboard lighting up, which indicates that the motherboard is receiving power, and hears beeping error codes because of the missing components.
Ok, the first thing is to take a deep breath and not panic. You should check a few things to see what might be the problem.
1. Check for LED Lights
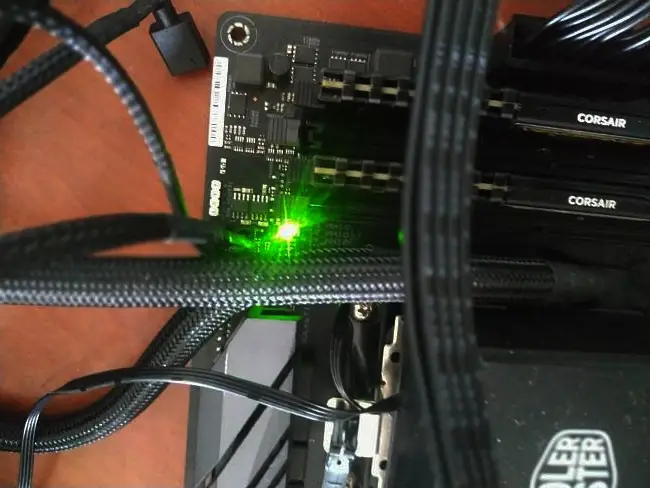
While most motherboards have some form of LEDs, not all do. So, if you don’t see any LEDs lighting up, it might be because your motherboard doesn’t have them in the first place.
First, check if the power supply unit is plugged in and turned on. I know this might sound like a dumb thing to check but trust me, it happens more often than you think.
Also, make sure that the 24-pin connector is plugged in properly. This is the main power connector, and the motherboard won’t power on if it’s not plugged in.
Then take the motherboard manual and see if there are any LED lights for troubleshooting. If there are not any, then there is not much you can do, and we will talk later about what you can do in this case.
Related Article: What Does The Red Light On Motherboard Mean
2. Check for Onboard Speakers
Now that you have checked if your motherboard has onboard LEDs and the 24-pin connector is plugged in, it’s time to check if your motherboard has an integrated speaker.
Not all motherboards have onboard speakers; you should find out if yours does before moving on to the next step.
To do that, you should check your motherboard’s manual
If your motherboard doesn’t have onboard speakers, there are two solutions.
The first one is to buy a motherboard speaker and connect it to the front panel header. They are quite affordable and easy to get.
The second solution is to use your case’s speaker by connecting its cable to the front panel header.
What do you do if your motherboard has no LEDs or speakers?
While this is not a very common problem, it can happen. The best thing you can do in this case is to connect either a CPU fan to a fan header or the CPU fan to the CPU fan header to see if they spin.
What you are trying to accomplish by doing this is to see if the motherboard is sending power to the fan headers. If the cooling fans start spinning, it means that the motherboard is getting power and is not dead.
Of course, this doesn’t mean that your motherboard is working correctly, but it indicates that it’s not dead.
There are other ways to troubleshoot a motherboard, but they are beyond the scope of this article.
FAQs
How do I start my computer without a CPU?
Your computer won’t start without a CPU. The motherboard requires a CPU to post; without it, you won’t be able to do anything. If you want to turn on your motherboard without a CPU, you can use a jumper to short the two power headers on the motherboard. While this will turn on the motherboard, you won’t be able to do anything else since there is no CPU.
Can a motherboard POST without a CPU?
No, a motherboard will not POST without a CPU. The POST is a process where the motherboard checks if all the components are working correctly.
Conclusion
This was a long article, but I hope you found it helpful. As you can see, there are a few ways to test if your motherboard is working properly without a CPU.
All you have to do is to follow the instructions, and you should be able to check if your motherboard is working or not.
Of course, to know exactly what is wrong with your motherboard, you will need to use a CPU and test it further.
But if you just want to know if the motherboard is receiving power and it’s not dead, then these methods should work fine.
I hope this article helped, and if it did, please consider sharing it with your friends. Thank you for reading!

