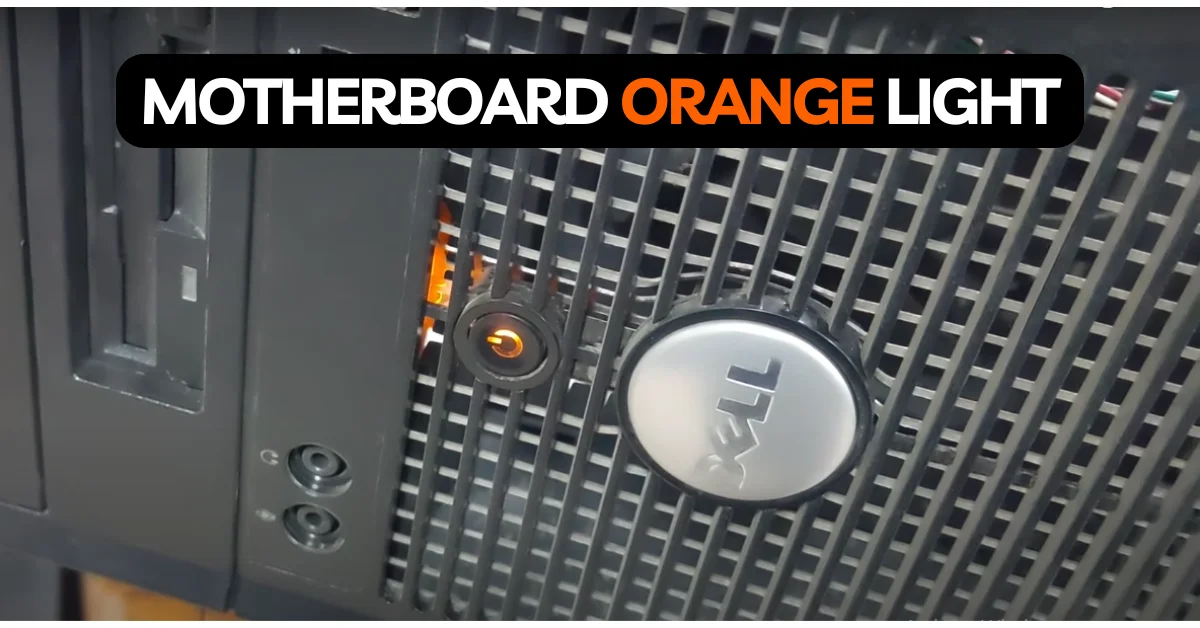
Last Saturday, I encountered a case that surprised me. A client reached out, frustrated with his new Ebuyer pre-built gaming PC. Instead, it was a £1,350 paperweight, refusing to boot up with nothing more than an ominous orange LED glowing on the motherboard. Little did I know, that this seemingly routine call would lead me to uncover a shocking oversight that challenges everything we expect from professional system builders.
Join me as I walk you through this eye-opening case, and learn why sometimes, the most unexpected culprit might be hiding in plain sight.
What Does Blinking Orange Light Mean On Motherboard?
An orange light is an indicator that alerts you something is going wrong with your computer. Unlike a green light, which usually means everything is running smoothly, an orange light often signals that there is an issue that needs your attention.
In many cases, the orange light indicates a problem with hardware components. It could mean that your computer is not receiving enough power, or that there is a problem with one of the critical parts, like the RAM or graphics card. Each motherboard may have different meanings for its lights. So it’s essential to refer to your motherboard’s manual for specific details.
Common Causes of the Orange Light
When you notice an orange light on your motherboard, it’s important to identify the underlying cause. Here are some common reasons why this light might be lit up:
- Power Supply Issues
- RAM Problems
- Overheating
- Graphics Card Issues
- BIOS or Firmware Errors
- Peripheral Connectivity Issues
- Faulty Components
Steps to Fix Orange/Yellow Motherboard Light
Consult the Motherboard Manual

One of the first things I recommend doing when you see an orange or yellow light on your motherboard is to consult the motherboard manual. Each motherboard is different, and the manual provides specific information about what the various lights and indicators mean for your particular model.
If you don’t have a physical copy of the manual, you can usually find it on the manufacturer’s website.
Check Power Connections
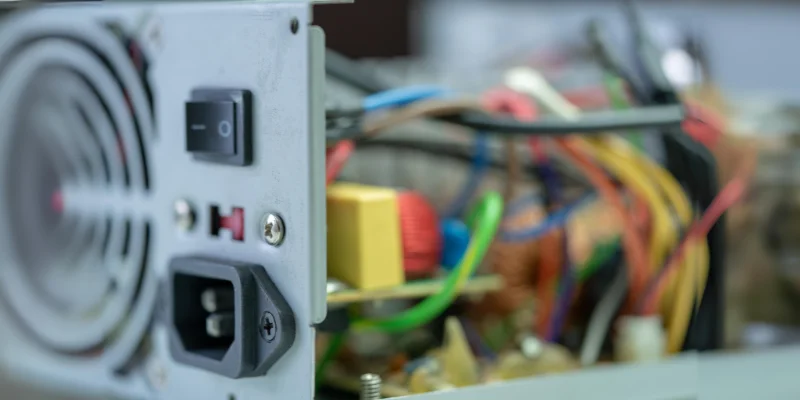
After consulting the motherboard manual, the next step I recommend is to check all power connections. This might seem straightforward, but loose or improperly connected cables are often the source of the orange light issue.
Started by ensuring that the power cable connecting the PSU to the wall outlet was securely plugged in. Then, moved on to checking the main 24-pin ATX connector that runs from the PSU to the motherboard. I gently disconnected and reconnected it, making sure it clicked into place. I also checked the 4/8-pin CPU power connector, which provides power directly to the processor. If this isn’t plugged in properly, it can cause all sorts of issues.
If you’ve recently upgraded your hardware, like adding a new graphics card or storage drive, make sure those are connected to the PSU as well. An underpowered system can’t operate at its best and may not even boot up. The manual should specify the recommended wattage for your particular motherboard and components.
If you suspect your power supply might not be up to the task, consider using a power supply calculator to estimate your system’s power requirements. Reputable sites like Newegg and PCPartPicker offer these tools. If the numbers don’t add up, it might be time to upgrade PSU.
Reseat RAM Modules
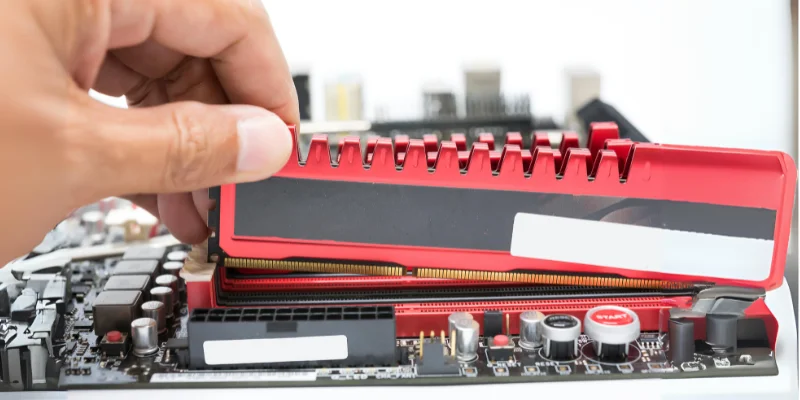
If checking the power connections doesn’t resolve the orange light issue, the next step I recommend is to reseat the RAM modules. Faulty or improperly seated RAM can often lead to problems.
- Turn off your computer and unplug it from the wall for safety.
- Open the computer case to access the RAM slots.
- Carefully remove the RAM by pressing down on the clips at each end of the slot.
- Handle the RAM by the edges to avoid touching the gold connectors or chips.
- Check the RAM for damage or dust and clean it gently with a soft, dry cloth if needed.
- Verify the RAM specifications to ensure they are compatible with your motherboard.
- Reinsert the RAM modules, aligning them properly and pressing down until they click into place.
- If you have multiple sticks, test them one at a time by booting up the computer.
- Once done, power on the computer to see if the issue is resolved.
Inspect Cooling Systems
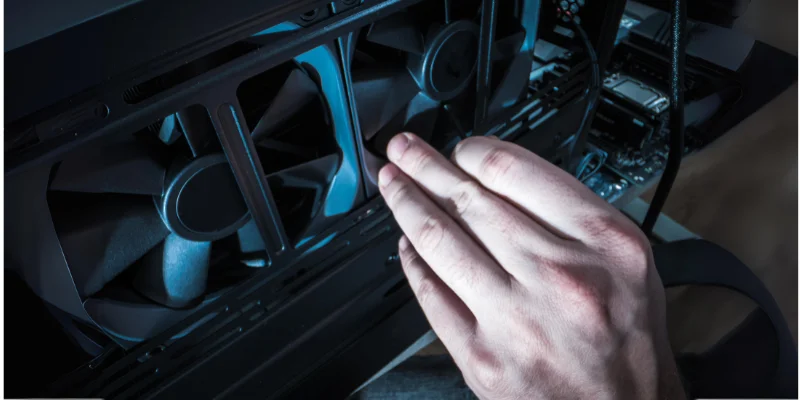
If reseating the RAM didn’t fix the orange light, the next step is to check the cooling systems in the computer. Overheating can cause the orange light to appear. Motherboards have sensors that monitor temperature, and if things get too hot, the orange light might come on as a warning to prevent damage.
Start by checking the CPU fans to ensure they’re spinning freely and not blocked by dust. Also, check the heatsinks to make sure they’re securely attached to the CPU, as loose heatsinks can cause overheating.
Clean out any dust inside the case using a can of compressed air, focusing on the fans, heatsinks, and other components. This helps maintain good airflow and prevents heat buildup. After cleaning, turn the computer back on.
Graphics Card Issues
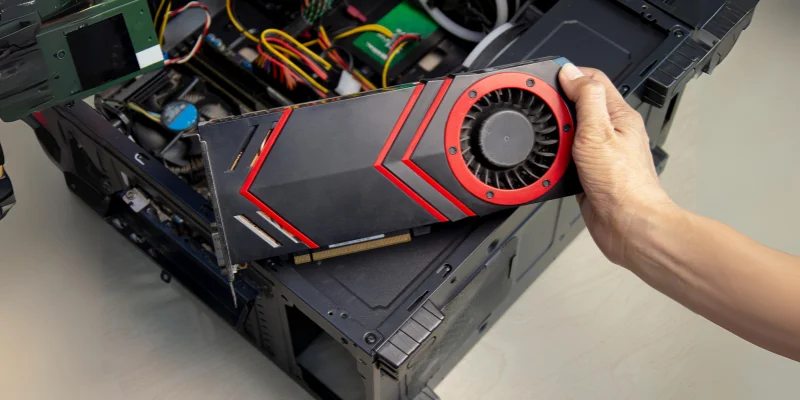
If the orange light on the motherboard persists after checking the power, RAM, and cooling systems, the next step is to inspect the graphics card. For PC gamers, the graphics card is essential, so it’s important to ensure it’s not causing the issue.
Start by powering down the computer and unplugging it for safety. Open the case and check if the graphics card is properly seated in the PCIe slot. A loose connection can cause problems.
Next, check the power cables connected to the graphics card, making sure they’re securely plugged in and undamaged. Reconnect them if necessary, ensuring they click into place.
If possible, test the system with a spare graphics card to see if it resolves the orange light. If not, check the manufacturer’s website for updates or drivers that might help.
BIOS or Firmware Errors
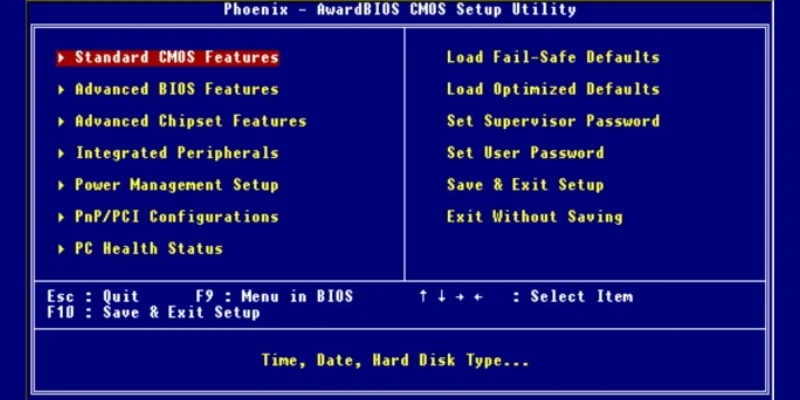
The BIOS is crucial for starting the computer and managing hardware, so any errors here can cause problems. So possibility it was the reason.
First, power down the computer and unplug it for safety. Then, access the BIOS by restarting the system and pressing the key (usually F2, Delete, or Esc) during startup. In the BIOS menu, check for error messages or unusual settings.
If the BIOS might be corrupted, try resetting it to default settings, either through the BIOS menu or by removing the CMOS battery from the motherboard for a few minutes and then replacing it. Restart the computer afterward to see if the orange light disappears.
Peripheral Connectivity Issues
After checking everything, it’s important to look at the peripheral devices connected to the computer, like hard drives, SSDs, and USB devices. These can cause issues if they’re not properly connected or are faulty.
Start by unplugging all peripheral devices except the essentials like the monitor, keyboard, and mouse. Power on the computer to see if the orange light is still there. If the light disappears, the problem might be with one of the peripherals.
Next, reconnect each device one by one, ensuring the cables are securely plugged in. Also, check for loose connections inside the case, such as SATA cables for storage drives.
If available, test the system with a spare hard drive or SSD to see if it resolves the issue. If not, check the manufacturer’s website for updates or drivers that might help.
Faulty Components
If the orange light remained after trying all other troubleshooting steps, it could indicate a faulty component, like the CPU or motherboard.
Start by inspecting the CPU for any visible damage or bent pins. If everything looks fine, try reseating the CPU and ensuring the heatsink is securely attached. A loose CPU can cause various issues.
If the problem continues, the motherboard might be faulty. Testing with a spare motherboard would be ideal, but if that’s not an option, contacting the manufacturer or visiting a repair shop is recommended.
In some cases, a faulty CPU or RAM can damage the motherboard, so multiple parts may need replacing.
Final Words
Throughout this troubleshooting journey, I’ve discovered that many issues can often be resolved with a bit of patience and careful inspection.
If you ever find yourself in a similar situation, don’t hesitate to refer back to these steps. Take your time, and don’t rush the process. Each component is interconnected, and understanding how they work together can help you not only fix the current issue but also prevent future problems.
Lastly, if all else fails, reach out for help—whether it’s from a friend who’s more tech-savvy or a professional technician. Sometimes, a fresh set of eyes can make all the difference. I hope this guide has been helpful and that you can get your system back up!


![Does CPU affect FPS? [Solved] 20 Does CPU affect FPS? [Solved]](https://pcexplorers.com/wp-content/uploads/2025/05/image-15-150x150.png)
