The “Checking Media Presence” error is a common issue encountered by Windows users during the boot process. This error typically indicates that the system is unable to find a bootable device, often due to incorrect BIOS settings or hardware malfunctions.
Stick with me, and I’ll walk you through some quick, effective solutions to get your machine up and running smoothly again.
What Does Checking Media Presence Error Mean?
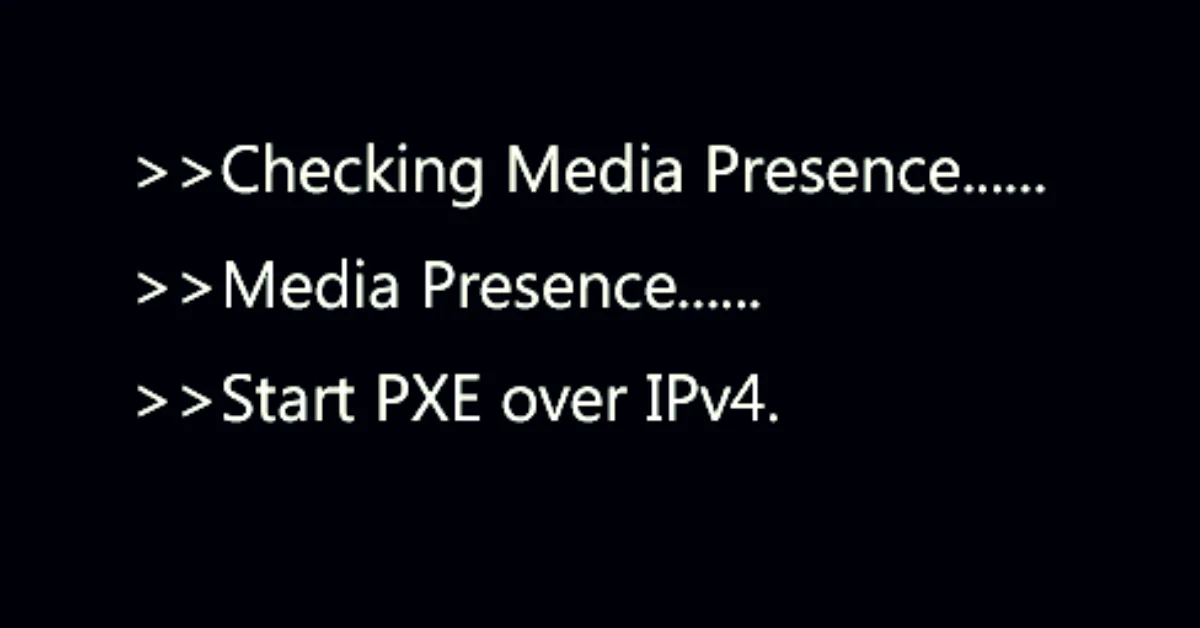
When you start your computer, the BIOS (Basic Input/Output System) is responsible for initializing hardware and loading the operating system. If the BIOS cannot find a bootable device, it may display the “Checking Media Presence” message. This can occur for several reasons:
- BIOS configuration problems
- Faulty hard drive
- Corrupted boot sector
- Loose connections
- Outdated BIOS
- Recent hardware changes
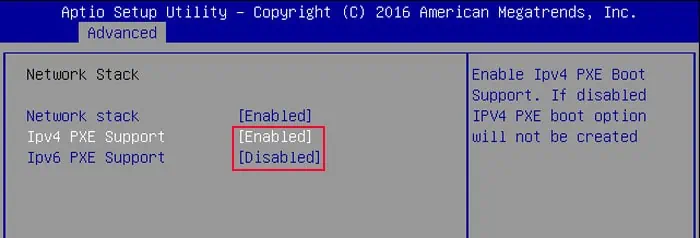
The error often manifests as a loop, displaying messages such as “Media Present” or “No Media Present,” and may attempt to boot from PXE (Preboot Execution Environment) over IPv4 or IPv6, indicating a network boot attempt that fails due to the absence of a network boot server.
Steps to Fix the “Checking Media Presence” Error
1. Rearranging the Boot Order
The first step in troubleshooting this error is to check and modify the boot order in the BIOS settings. Follow these steps:
- Restart your computer and enter the BIOS setup. This is usually done by pressing a specific key (such as F2, F10, or Delete) immediately after powering on.
- Navigate to the Boot Menu. Here, you will see a list of devices that your computer can boot from.
- Ensure that your primary hard drive is set as the first boot device. If it is not, use the appropriate keys (often F5 or F6) to move it to the top of the list.
- Save your changes and exit the BIOS. Your computer should now attempt to boot from the hard drive first.
2. Disabling Network Boot
If your computer is still trying to boot from a network, you may need to disable the network boot options:

- In the BIOS settings, locate the Network Boot options, typically found under the Boot tab.
- Disable PXE Boot or any options related to network booting.
- Save and exit the BIOS.
3. Checking Hardware Connections
If the error persists, it is essential to check the physical connections of your hard drive:
- Power off your computer and unplug it from the power source.
- Open the computer case (if applicable) and ensure that the hard drive is securely connected to the motherboard and power supply.
- If you have multiple drives, ensure that the correct drive is connected and functioning properly.
- Reassemble your computer, plug it back in, and power it on.
4. Running System File Checker (SFC)
Corrupted system files can also lead to boot issues. You can use the System File Checker (SFC) tool to repair these files:
1. Create a Windows installation media using another computer. You can download the Media Creation Tool from Microsoft’s official site.
2. Boot your computer from the installation media and select Repair your computer.

3. Navigate to Troubleshoot > Advanced options > Command Prompt.


4. In the command prompt, type sfc /scannow and press Enter. This command will scan for and repair corrupted system files.

5. Once the process is complete, restart your computer
5. Updating Storage Drivers
Outdated or corrupted storage drivers can also cause boot issues. Here’s how to update them:
- Boot into Safe Mode or use the Windows installation media to access the recovery options.
- Open Device Manager by typing devmgmt.msc in the Run dialog (Windows + R).
- Expand the Disk Drives section, right-click on your hard drive, and select Update Driver.
- Choose the option to search automatically for updated driver software. Follow the prompts to complete the update
6. Resetting the CMOS
If all else fails, resetting the CMOS can restore BIOS settings to their default state:
- Power off your computer and unplug it.
- Locate the CMOS battery on the motherboard (a small, round battery).
- Remove the battery for about five minutes, then reinsert it.
- Power on your computer and enter the BIOS to reconfigure your boot settings as needed
Bottom Line
Dealing with the “checking media presence” error can be quite a hassle, but don’t worry—you’re not alone in this! By following the steps we discussed, you can often pinpoint the issue and get your computer back on track. Whether it’s tweaking some settings in the BIOS or checking your hardware connections, a little patience goes a long way. And if you find yourself feeling stuck, reaching out for help is always a good option. Technology can be tricky sometimes, but with a bit of effort, you’ll be back to using your PC in no time!


